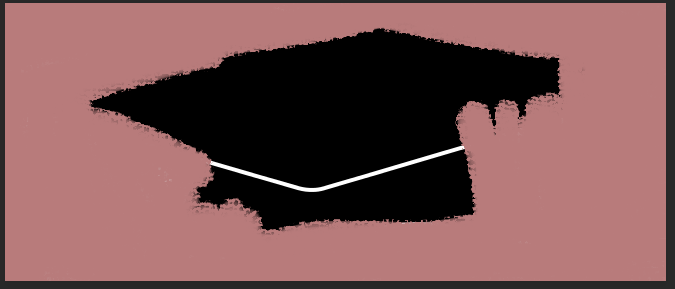
This tutorial will teach you how to add a custom background to images with a transparent background. For this tutorial, I am starting with an image already saved in my computer – the ever appropriate graduation cap.

The tiled background is an indicator that the image is only the cap and nothing else. Should there have been a background, the checkered background would be a solid color.
Step 1:
 From the toolbar on the left, first you want to select the Mixer Brush Tool. Then from the overhead toolbar, you want to select the Oil pastel option.
You will notice that the color I am using is already selected and visible in the square on the overhead tool bar.
Step 2: Here is where you will add the layer.

From the overhead toolbar, select layer -> New -> Layer
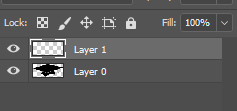
The new layer will show up on the bottom right hand corner. Notice the new layer is transparent.
Step 3: Fill in the layer

Here is where you can make a judgement call about how much/little you would like to customize the background. For the purpose of my tutorial, I just want a solid background, so I filled in the spaces around the image.
Step 4: Switching the layers
If you notice in step 2, the new layer will default as layer 0. To change which image is on top, simply click the layer you would like to move and drag it to its new location. I dragged the layer with the cap to the top of the list.
-> 
Notice that layer 1 reflects the changes I made to it within its thumbnail.
You now have the following image. Happy Photoshopping!

