Step 1: Insert the audio file you desire into the workspace on Premier Pro. Scroll up on the scrolling column on the right of the audio file’s sound waves to make the sound waves bigger. The highest waves will most likely be the downbeats of the music, which tend to be the best moments to add a clip.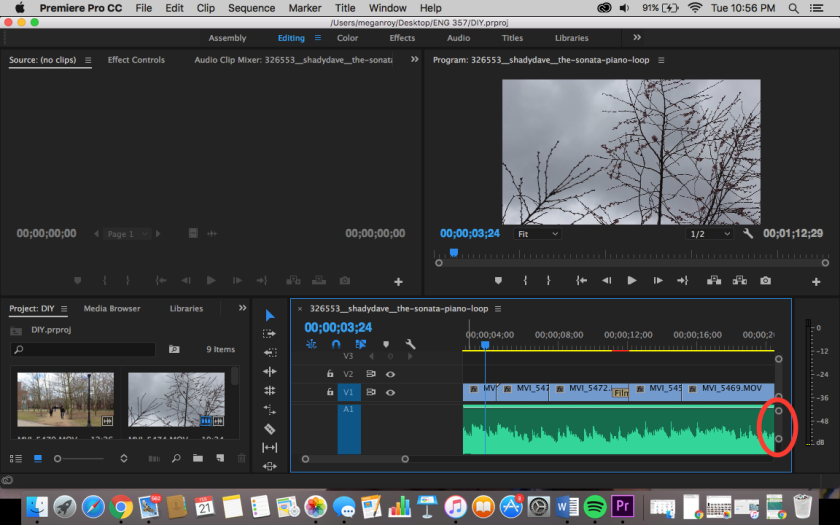
Step 2: Insert your footage, and use the razor tool to cut the clips to fit between each downbeat you want to use. Match up the start of each clip to one of the tall downbeat waves. 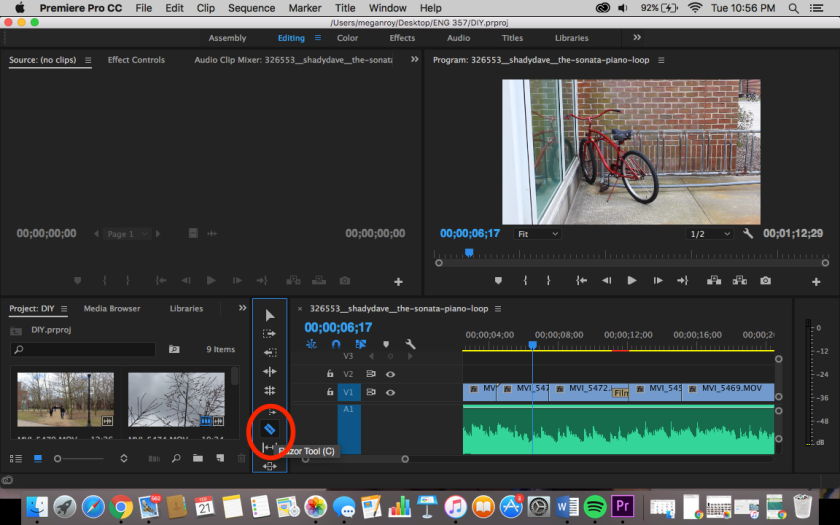
Step 3: Keep going for as long as you want. Try fading out the image when the music fades out, or changing images faster when the music picks up.
For more information, watch: How to Edit to the Beat

I’m not quite sure I understand what a downbeat is, however. It seems like it was a slightly louder note going by the example video, but it still doesn’t feel clear. Why is that the best place to switch scenes?
LikeLike
The downbeat is the beat with the most emphasis in the measure. If you were tapping your foot to the beat, your foot would naturally touch the ground at the downbeat because it has the most emphasis. It’s good to change clips on the downbeat because it mimics the rhythm of the music and helps the piece as a whole seem more in synch.
LikeLike